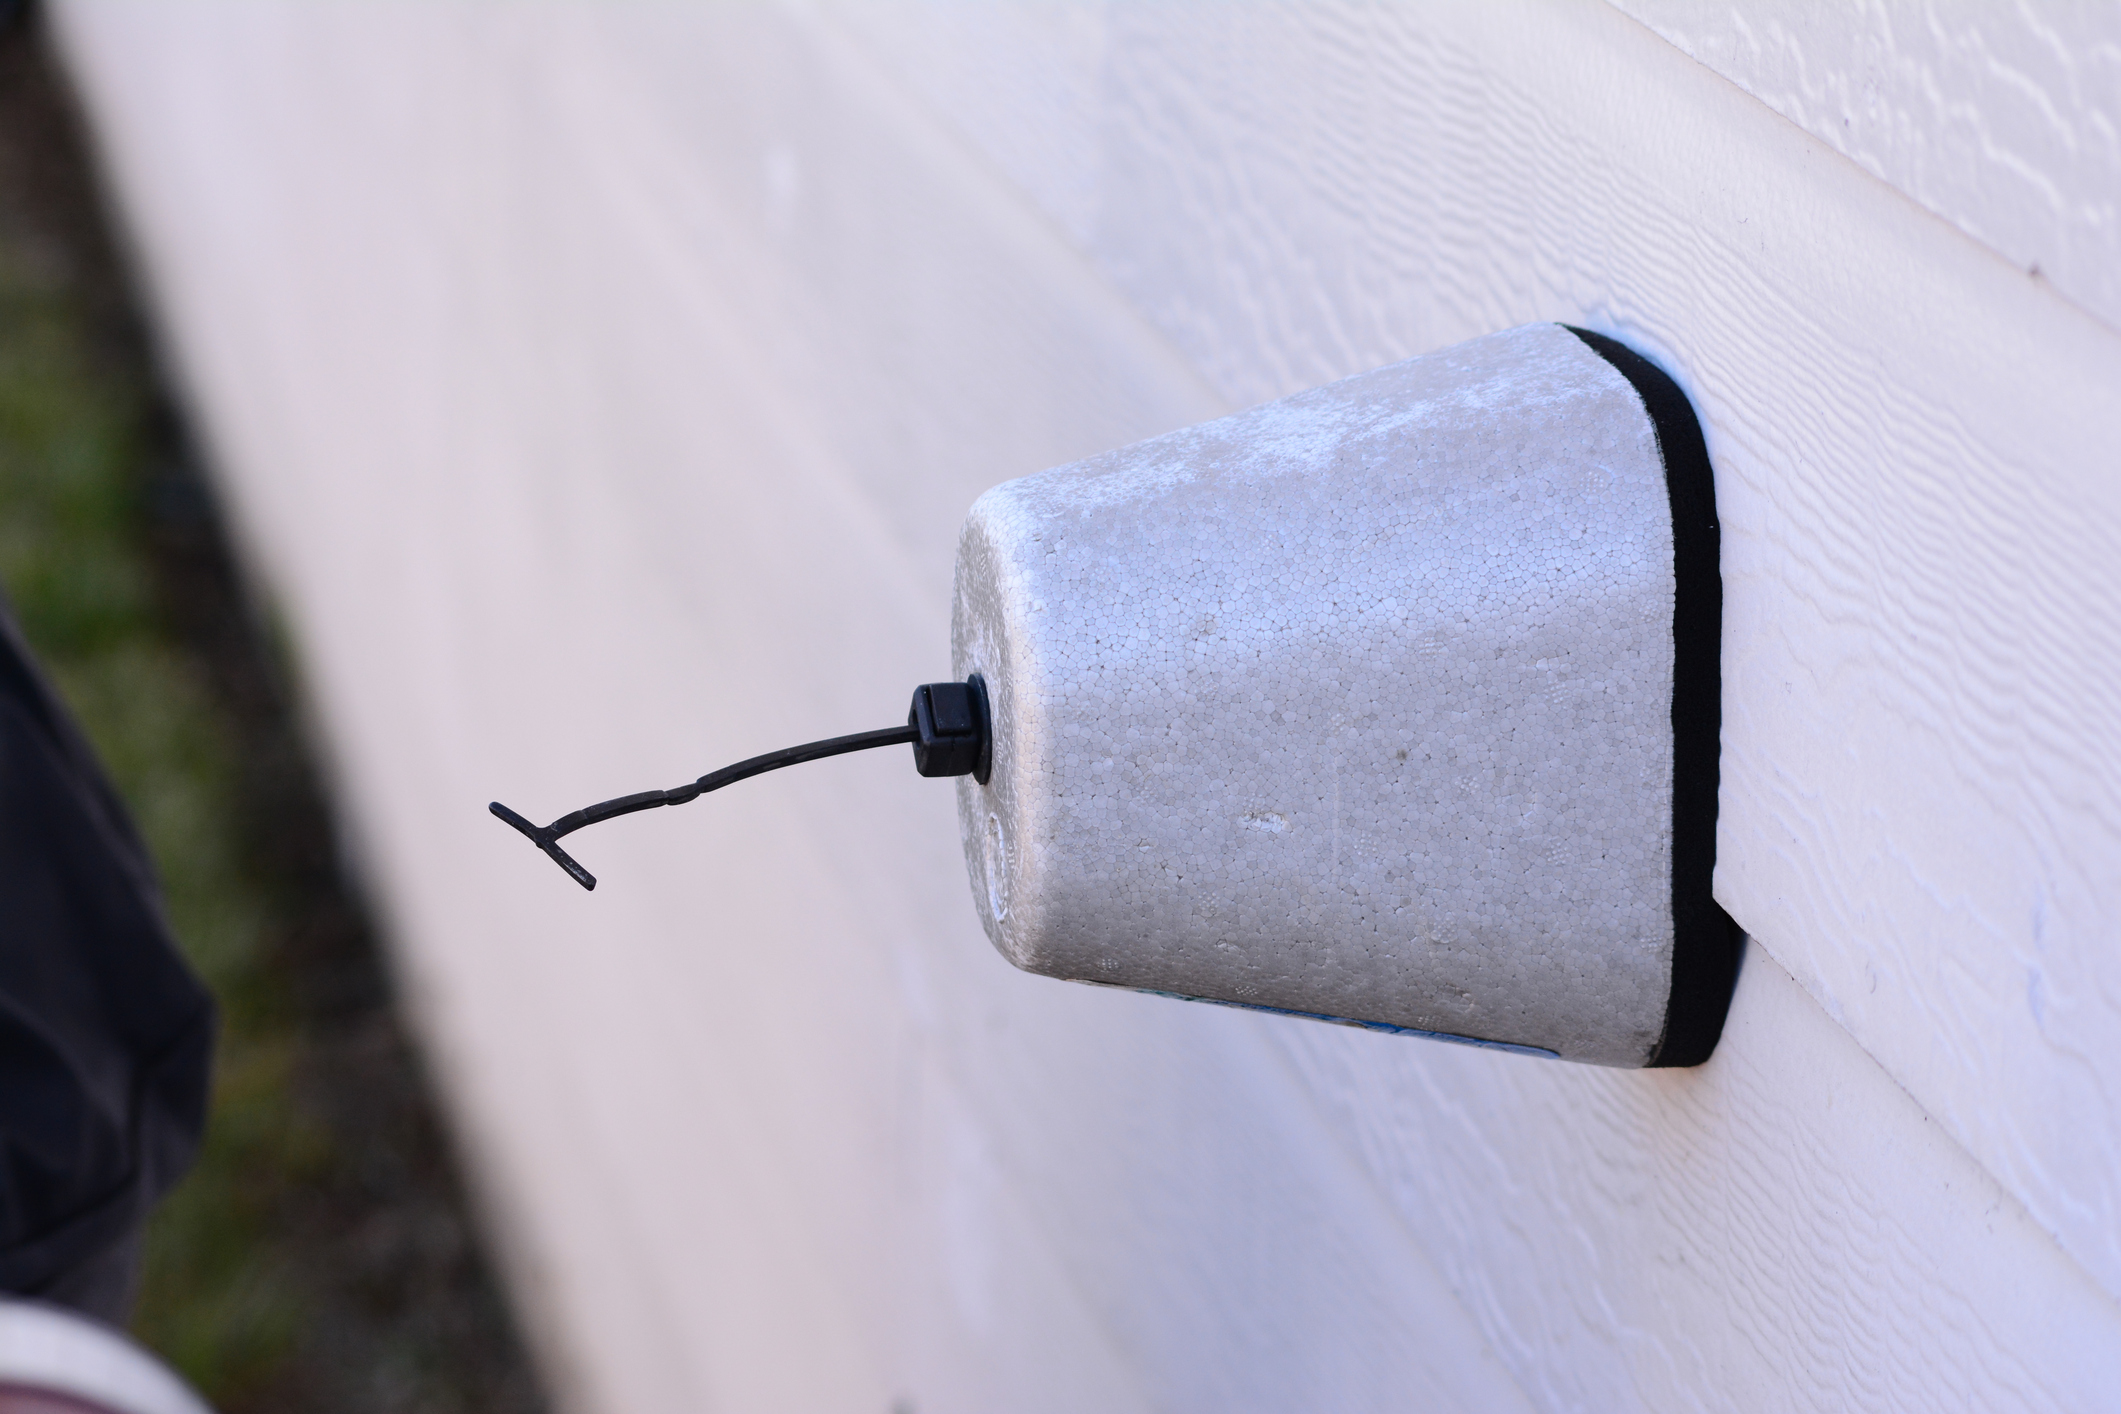
When it comes to your plumbing, the last thing you think about are your outdoor faucets. However, when wintertime arrives, your outdoor faucets become the most important pieces of your plumbing system. Why? Because if you don’t insulate them properly, you could end up with frozen (and most likely burst) plumbing pipes.

Step 1: Stop the Flow of Water
Plumbing pipes can easily freeze when there’s water inside of them and the temperature drops below 32 degrees Fahrenheit (the freezing point). Start your winterization by shutting the outdoor supply valve. This will cut off the water supply to your outdoor faucets. However, for those heading south (or west) for the winter, shut off your main water supply valve to the entire house — just to be safe.
Step 2: Remove Accessories and Excess Water
Once the water supply has been cut off, begin removing any attachments from the outdoor faucet. Make sure you also empty out, roll up, and stow away any hoses so that any water inside of them doesn’t freeze, expand, and damage them. Once all attachments have been removed and stored, open up the faucet to remove excess water and allow it to drip dry before closing it.
Step 3: Install Insulation
Even though all of the water is out of the outdoor faucet and its plumbing, you still want to insulate the faucet itself. The best option is to purchase a foam insulation cover to place over the outdoor faucet and exposed plumbing pipe. This foam piece has insulation on the inside that will surround and protect your outdoor faucet from the frigid temperatures of winter.
Insulating an outdoor faucet for the winter is as easy as 1-2-3, you just have to know what you’re doing. When your pipes freeze or burst, as a result, contact Len The Plumber for pipe repair. If you’re looking for a reliable plumber, check to see if you live in one of our many service areas!
The post How to Insulate an Outdoor Faucet appeared first on Len The Plumber.
No comments:
Post a Comment